
Windows 11 comes with a ton of changes. A new UI, android app compatibility, improved resources management, and so much more are all packed into Microsoft's brand new operating system. However, it is still the same OS underneath, and that’s a good thing. If you made the jump to Windows 11, you may realize a few things have changed, starting with the placement of the Start button. In this guide, we have jotted down a few Windows 11 tips and tricks to help you with the transition and learn new features.
1. Display the Classic Right-Click Menu
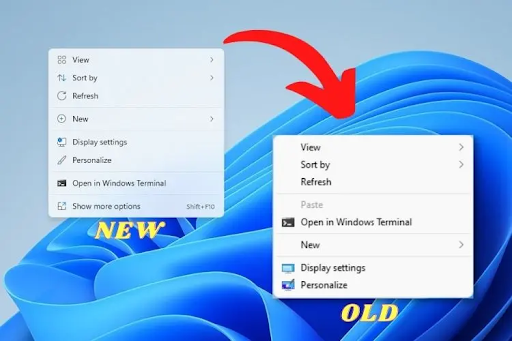
However, the classic context menu is still part of Windows 11. To access it, right-click in File Explorer and select the Show more options to open a spill-over menu. You can also use the Shift + F10 keyboard shortcut to access this option.
Or
2. Type - reg add "HKCU\Software\Classes\CLSID\{86ca1aa0-34aa-4e8b-a509- 50c905bae2a2}\InprocServer32" /f /ve
3. Restart Explorer Process from Task Manager
2. Enable Dark Mode and Night Light

To enable Dark Mode in Windows 11, go to Settings > System > Personalization > Colors. Then, click the drop-down for Choose your mode and select Dark.
If you often work till late at night, you can use the Night Light feature in Windows 11. When enabled, it acts as a blue light filter by switching to warm colors. You can access Night Light under Settings > System > Display.

If you are frustrated with the slow and laggy Photos app on Windows 11, worry not. You can still get the trusty Windows Photo Viewer right from Windows 7 to Windows 11. I am sure it will quickly become the best photo viewer on Windows 11 for you. So go ahead and try this best Registry hack on your Windows 11 PC.
1. First, open Notepad on your PC and copy + paste the below commands into the new document.
Windows Registry Editor Version 5.00
[HKEY_CURRENT_USER\SOFTWARE\Classes\.bmp]
@="PhotoViewer.FileAssoc.Tiff"
[HKEY_CURRENT_USER\SOFTWARE\Classes\.gif]
@="PhotoViewer.FileAssoc.Tiff"
[HKEY_CURRENT_USER\SOFTWARE\Classes\.ico]
@="PhotoViewer.FileAssoc.Tiff"
[HKEY_CURRENT_USER\SOFTWARE\Classes\.jpeg]
@="PhotoViewer.FileAssoc.Tiff"
[HKEY_CURRENT_USER\SOFTWARE\Classes\.jpg]
@="PhotoViewer.FileAssoc.Tiff"
[HKEY_CURRENT_USER\SOFTWARE\Classes\.png]
@="PhotoViewer.FileAssoc.Tiff"
[HKEY_CURRENT_USER\SOFTWARE\Microsoft\Windows\CurrentVersion\Explorer\FileExts\.gif\OpenWithProgids]
"PhotoViewer.FileAssoc.Tiff"=hex(0):
[HKEY_CURRENT_USER\SOFTWARE\Microsoft\Windows\CurrentVersion\Explorer\FileExts\.ico\OpenWithProgids]
"PhotoViewer.FileAssoc.Tiff"=hex(0):
[HKEY_CURRENT_USER\SOFTWARE\Microsoft\Windows\CurrentVersion\Explorer\FileExts\.jpeg\OpenWithProgids]
"PhotoViewer.FileAssoc.Tiff"=hex(0):
[HKEY_CURRENT_USER\SOFTWARE\Microsoft\Windows\CurrentVersion\Explorer\FileExts\.bmp\OpenWithProgids]
"PhotoViewer.FileAssoc.Tiff"=hex(0):
[HKEY_CURRENT_USER\SOFTWARE\Microsoft\Windows\CurrentVersion\Explorer\FileExts\.jpg\OpenWithProgids]
"PhotoViewer.FileAssoc.Tiff"=hex(0):
[HKEY_CURRENT_USER\SOFTWARE\Microsoft\Windows\CurrentVersion\Explorer\FileExts\.png\OpenWithProgids]
"PhotoViewer.FileAssoc.Tiff"=hex(0):
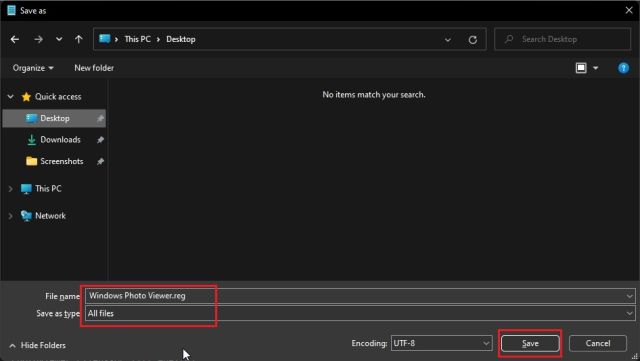
3. Here, choose “All files” from the “Save as type” drop-down menu and give the file name. For example, I used the file name – “Windows Photo Viewer”. Next, add
.reg at the end of the file name to create a Registry file. Finally, click on “Save”.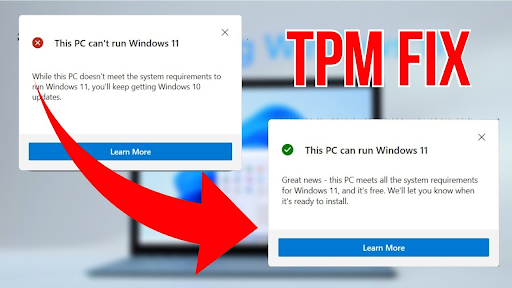
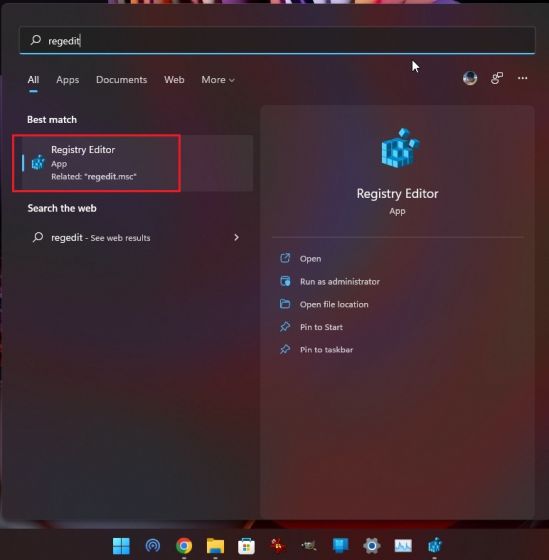
1. Press the Windows key once and type “regedit“. Now, open Registry Editor from the search results.
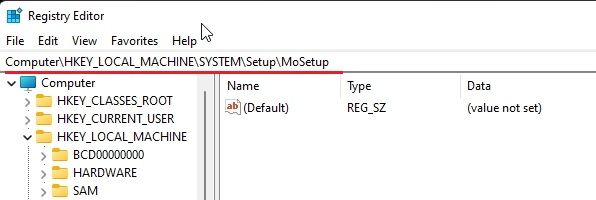
Computer\
HKEY_LOCAL_MACHINE\SYSTEM\Setup\MoSetup
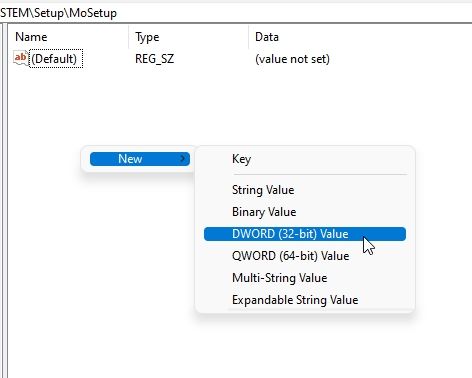
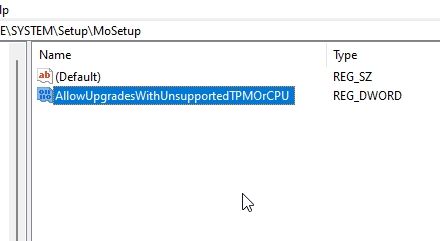
3. Once you are here, right-click on the empty space in the right-pane and choose New -> DWORD (32-bit) Value.4. After that, name it
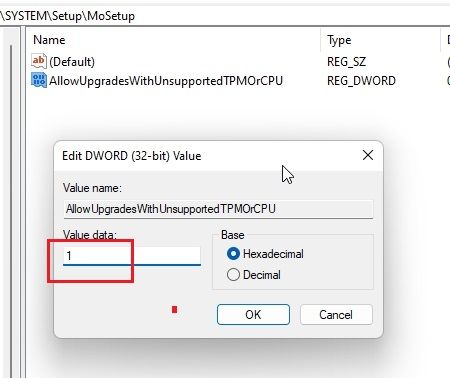
AllowUpgradesWithUnsupportedTPMOrCPU.5. Double-click to open it and change the Value data from 0 to
1. Finally, close the Registry Editor and restart your computer. Now, go ahead and update Windows 11. This time, you will not face any TPM or CPU errors.
Comment here